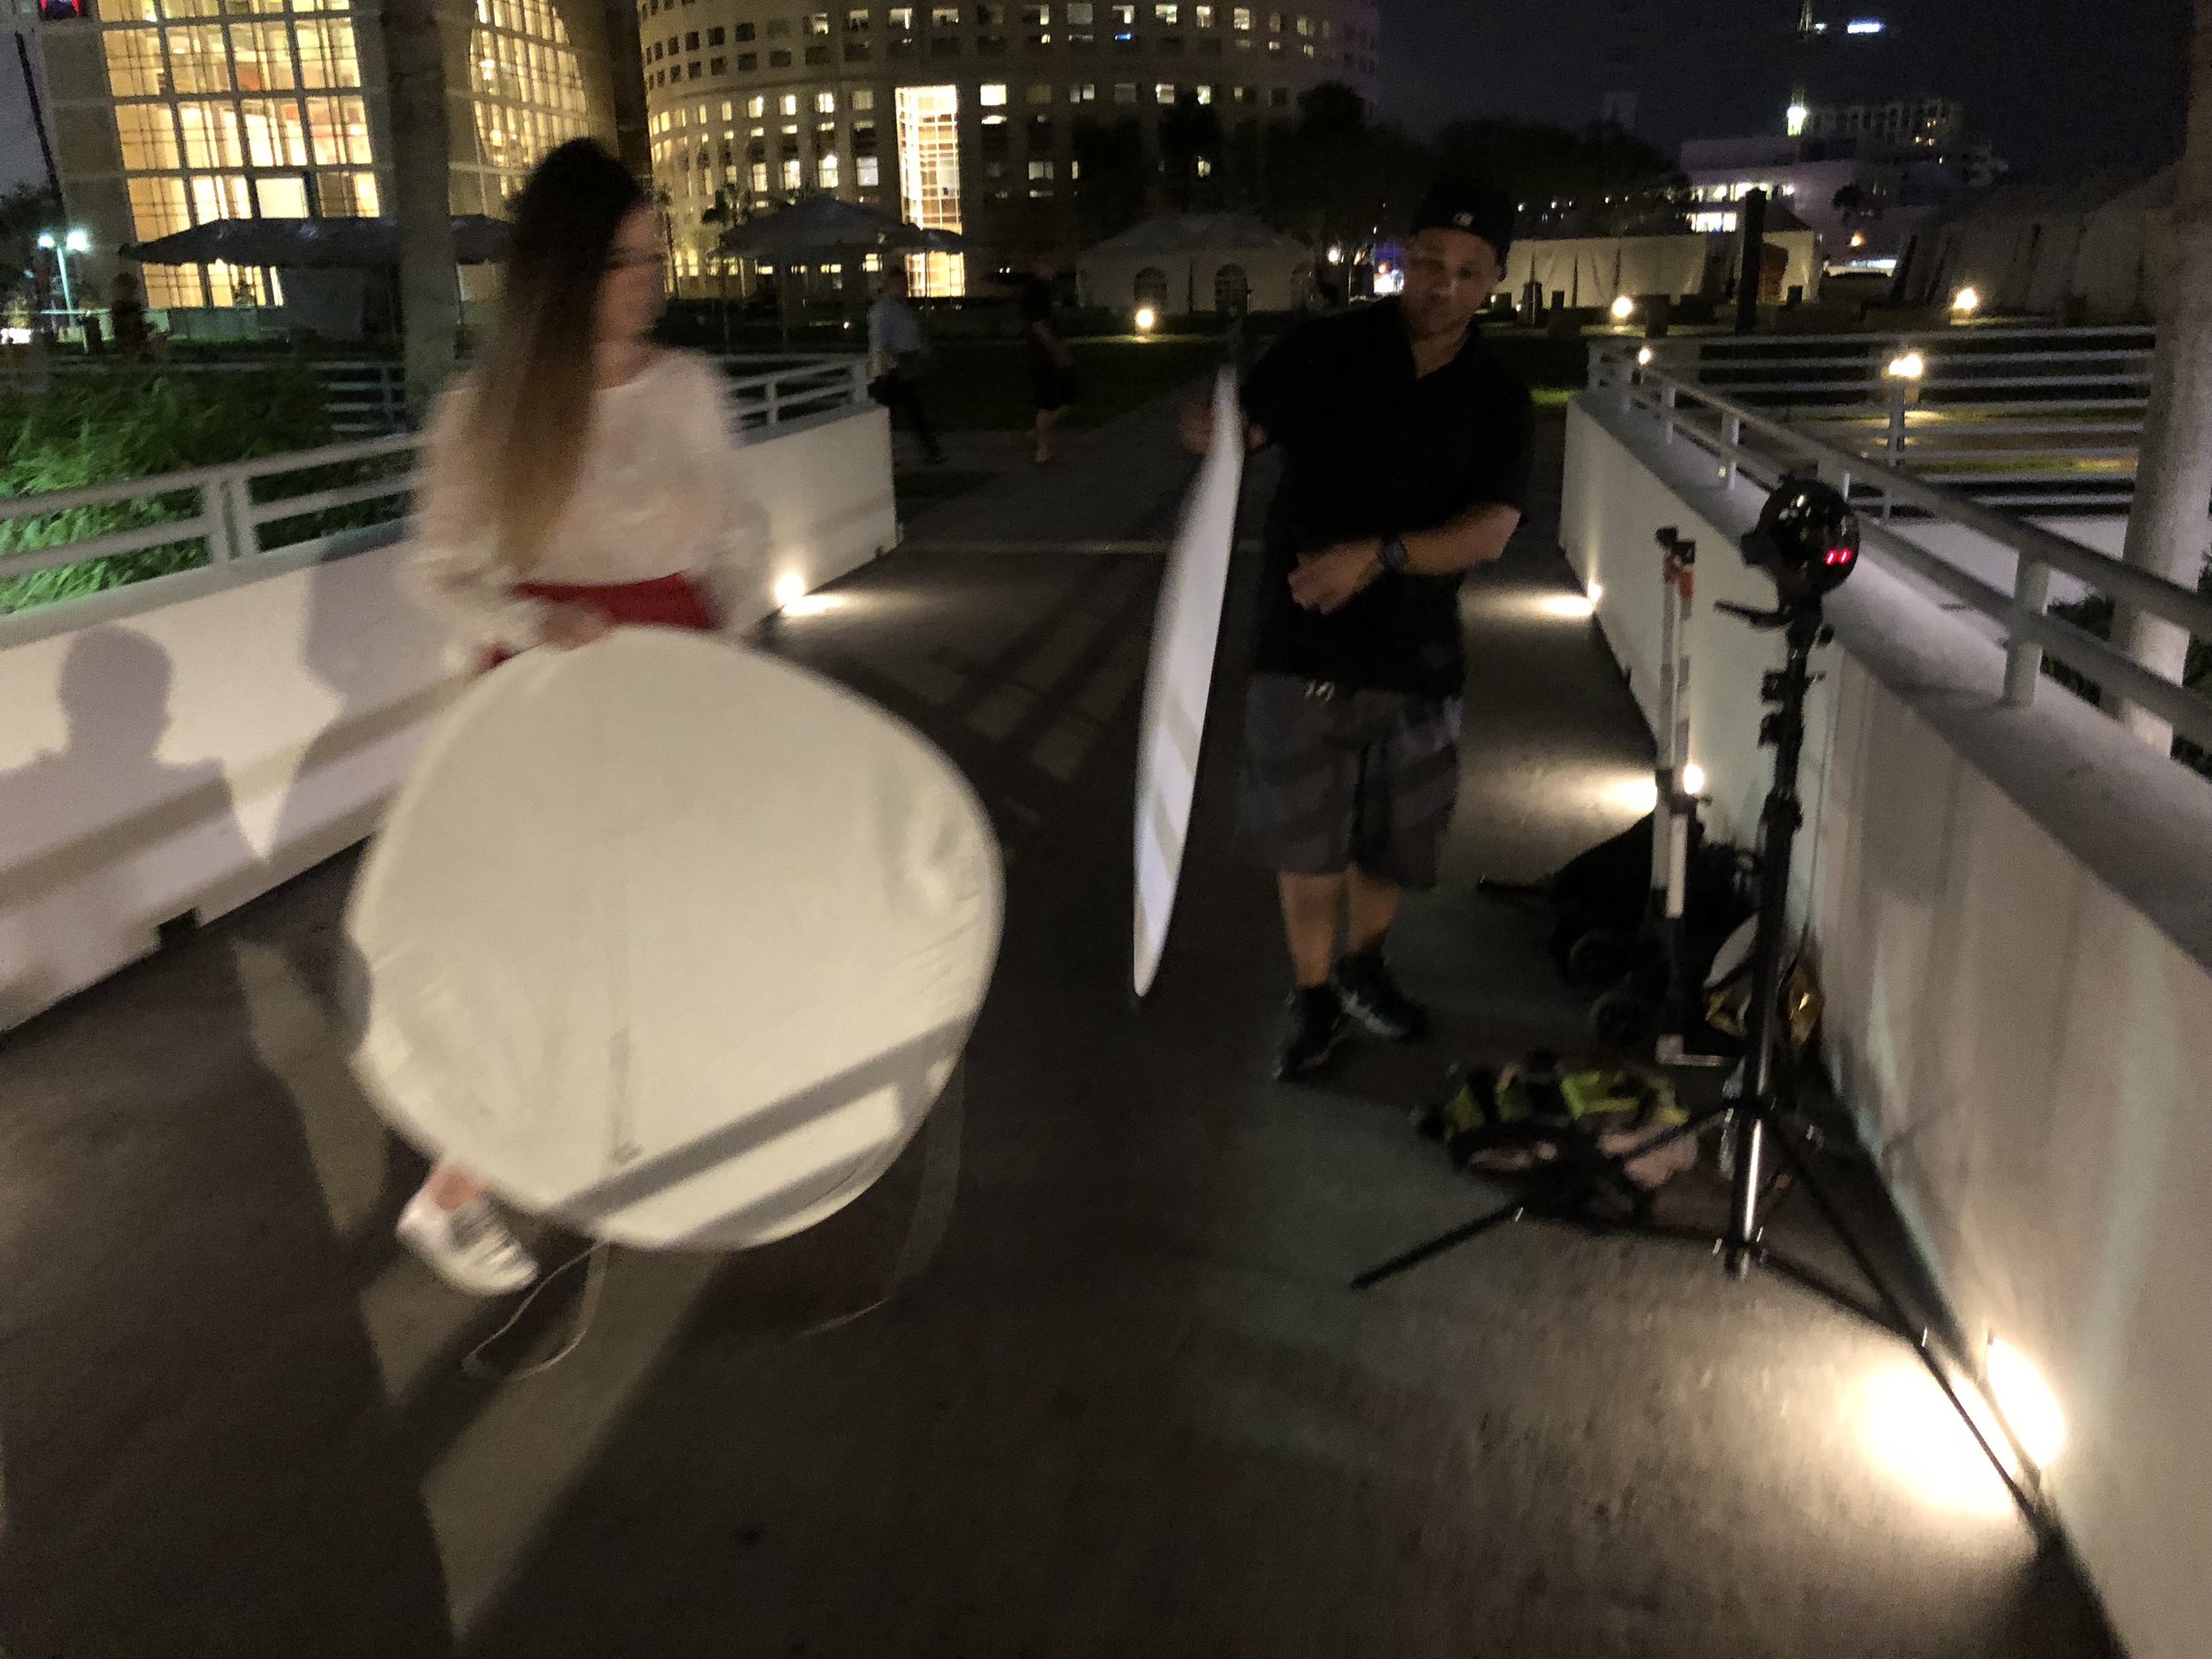
I got wrangled into a group of fellow photographers who were working on improving their skills. Let's be clear: Anytime you shoot, you can learn. One of the things I wanted to emphasize from this shoot was working through the process.
When I trained in jiu jitsu, I learned that, "The slower you go, the more you learn." I want to go thorugh how I think you can really develop the decision process for choosing exposure when using flash photography.
Step 1: Determine How Much You Want to See in Your Image
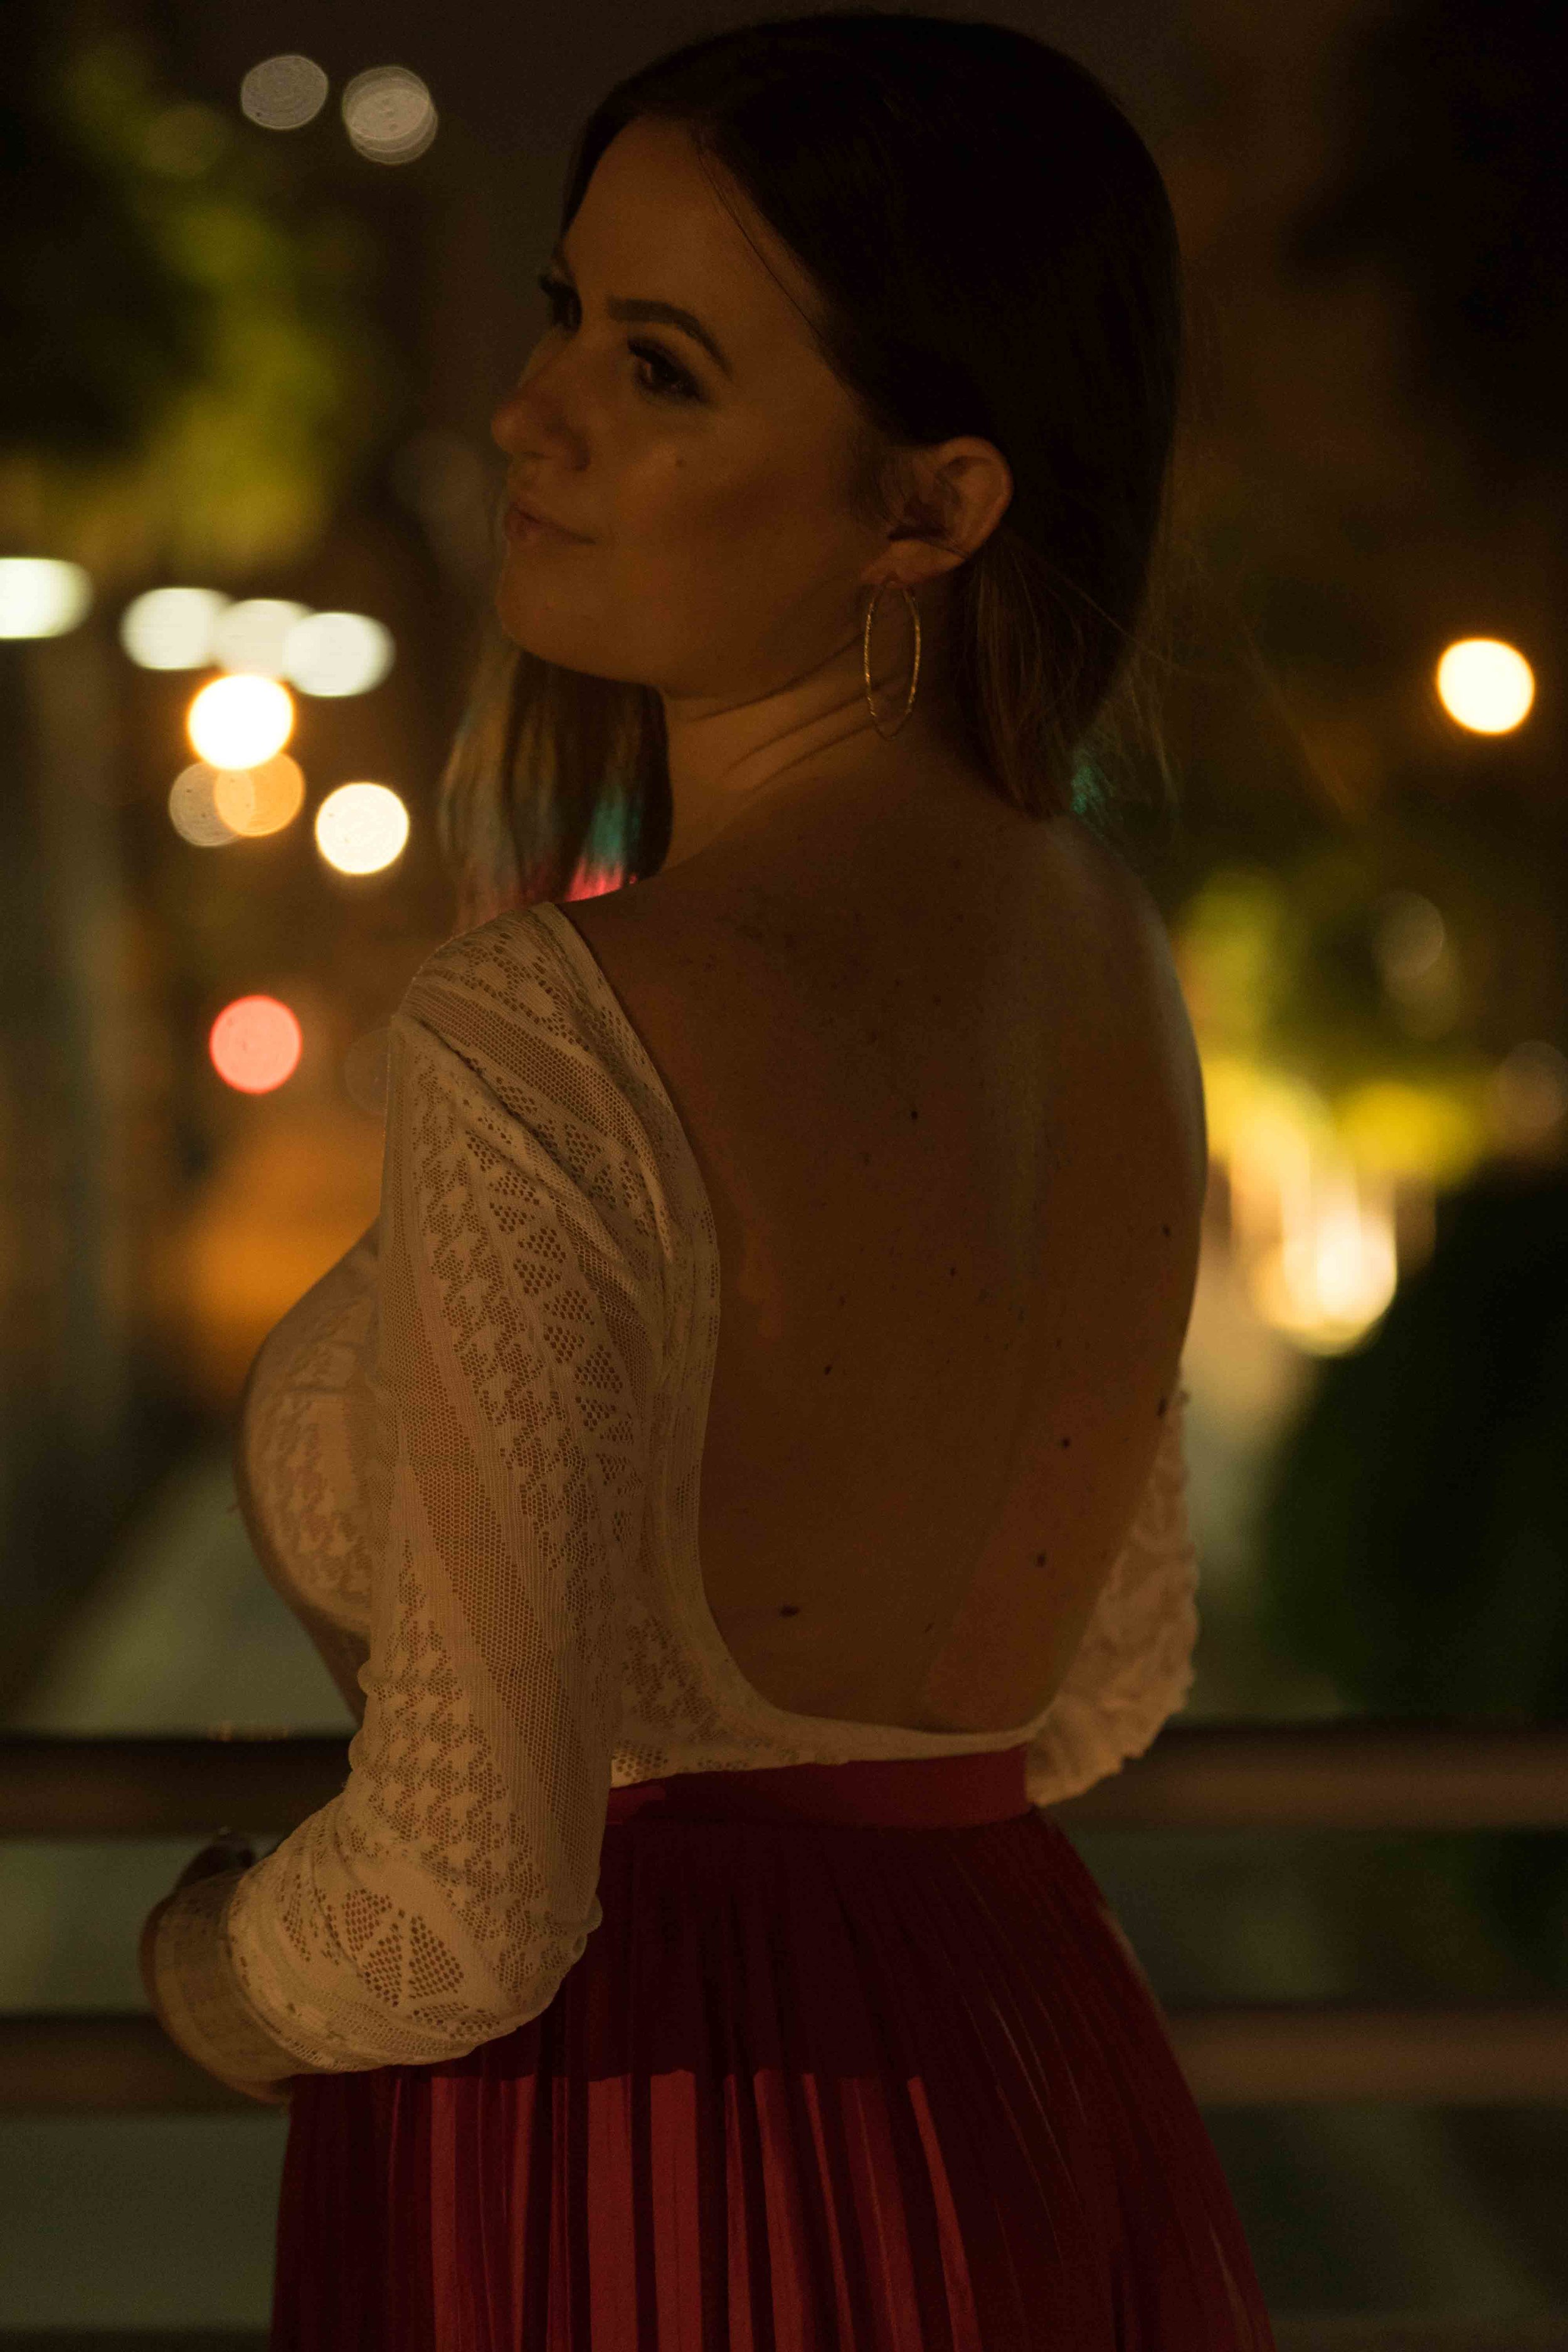
The first question I like to start with is looking at the scene and determining what I want in focus and my focal length.
An example would be a portrait of a single person. Do you want to see the background? Is the background terrible, so you want to blur it out? Are there a bunch of lights that you want to have as Bokeh balls?
If you want to get more of the background, select an aperture at f/8 to f/16. If you want to get some background but separate the subject, select an aperture f/4 to f/6.3. If you’d like to to really blur the background, go less than f/4.

Step 2: Determine How Bright You Want Your Background
Alright, so how do you want it? Pitch black? Bright? Do you want to emphasize the objects in the background? Do you want to hide something unsightly?
Your two main devices for changing this, without affecting your pre-decided aperture are: ISO and Shutter. I want to emphasize that you’re going to use shutter after you get your ISO keyed in.
Step 3: Setting Your Flash
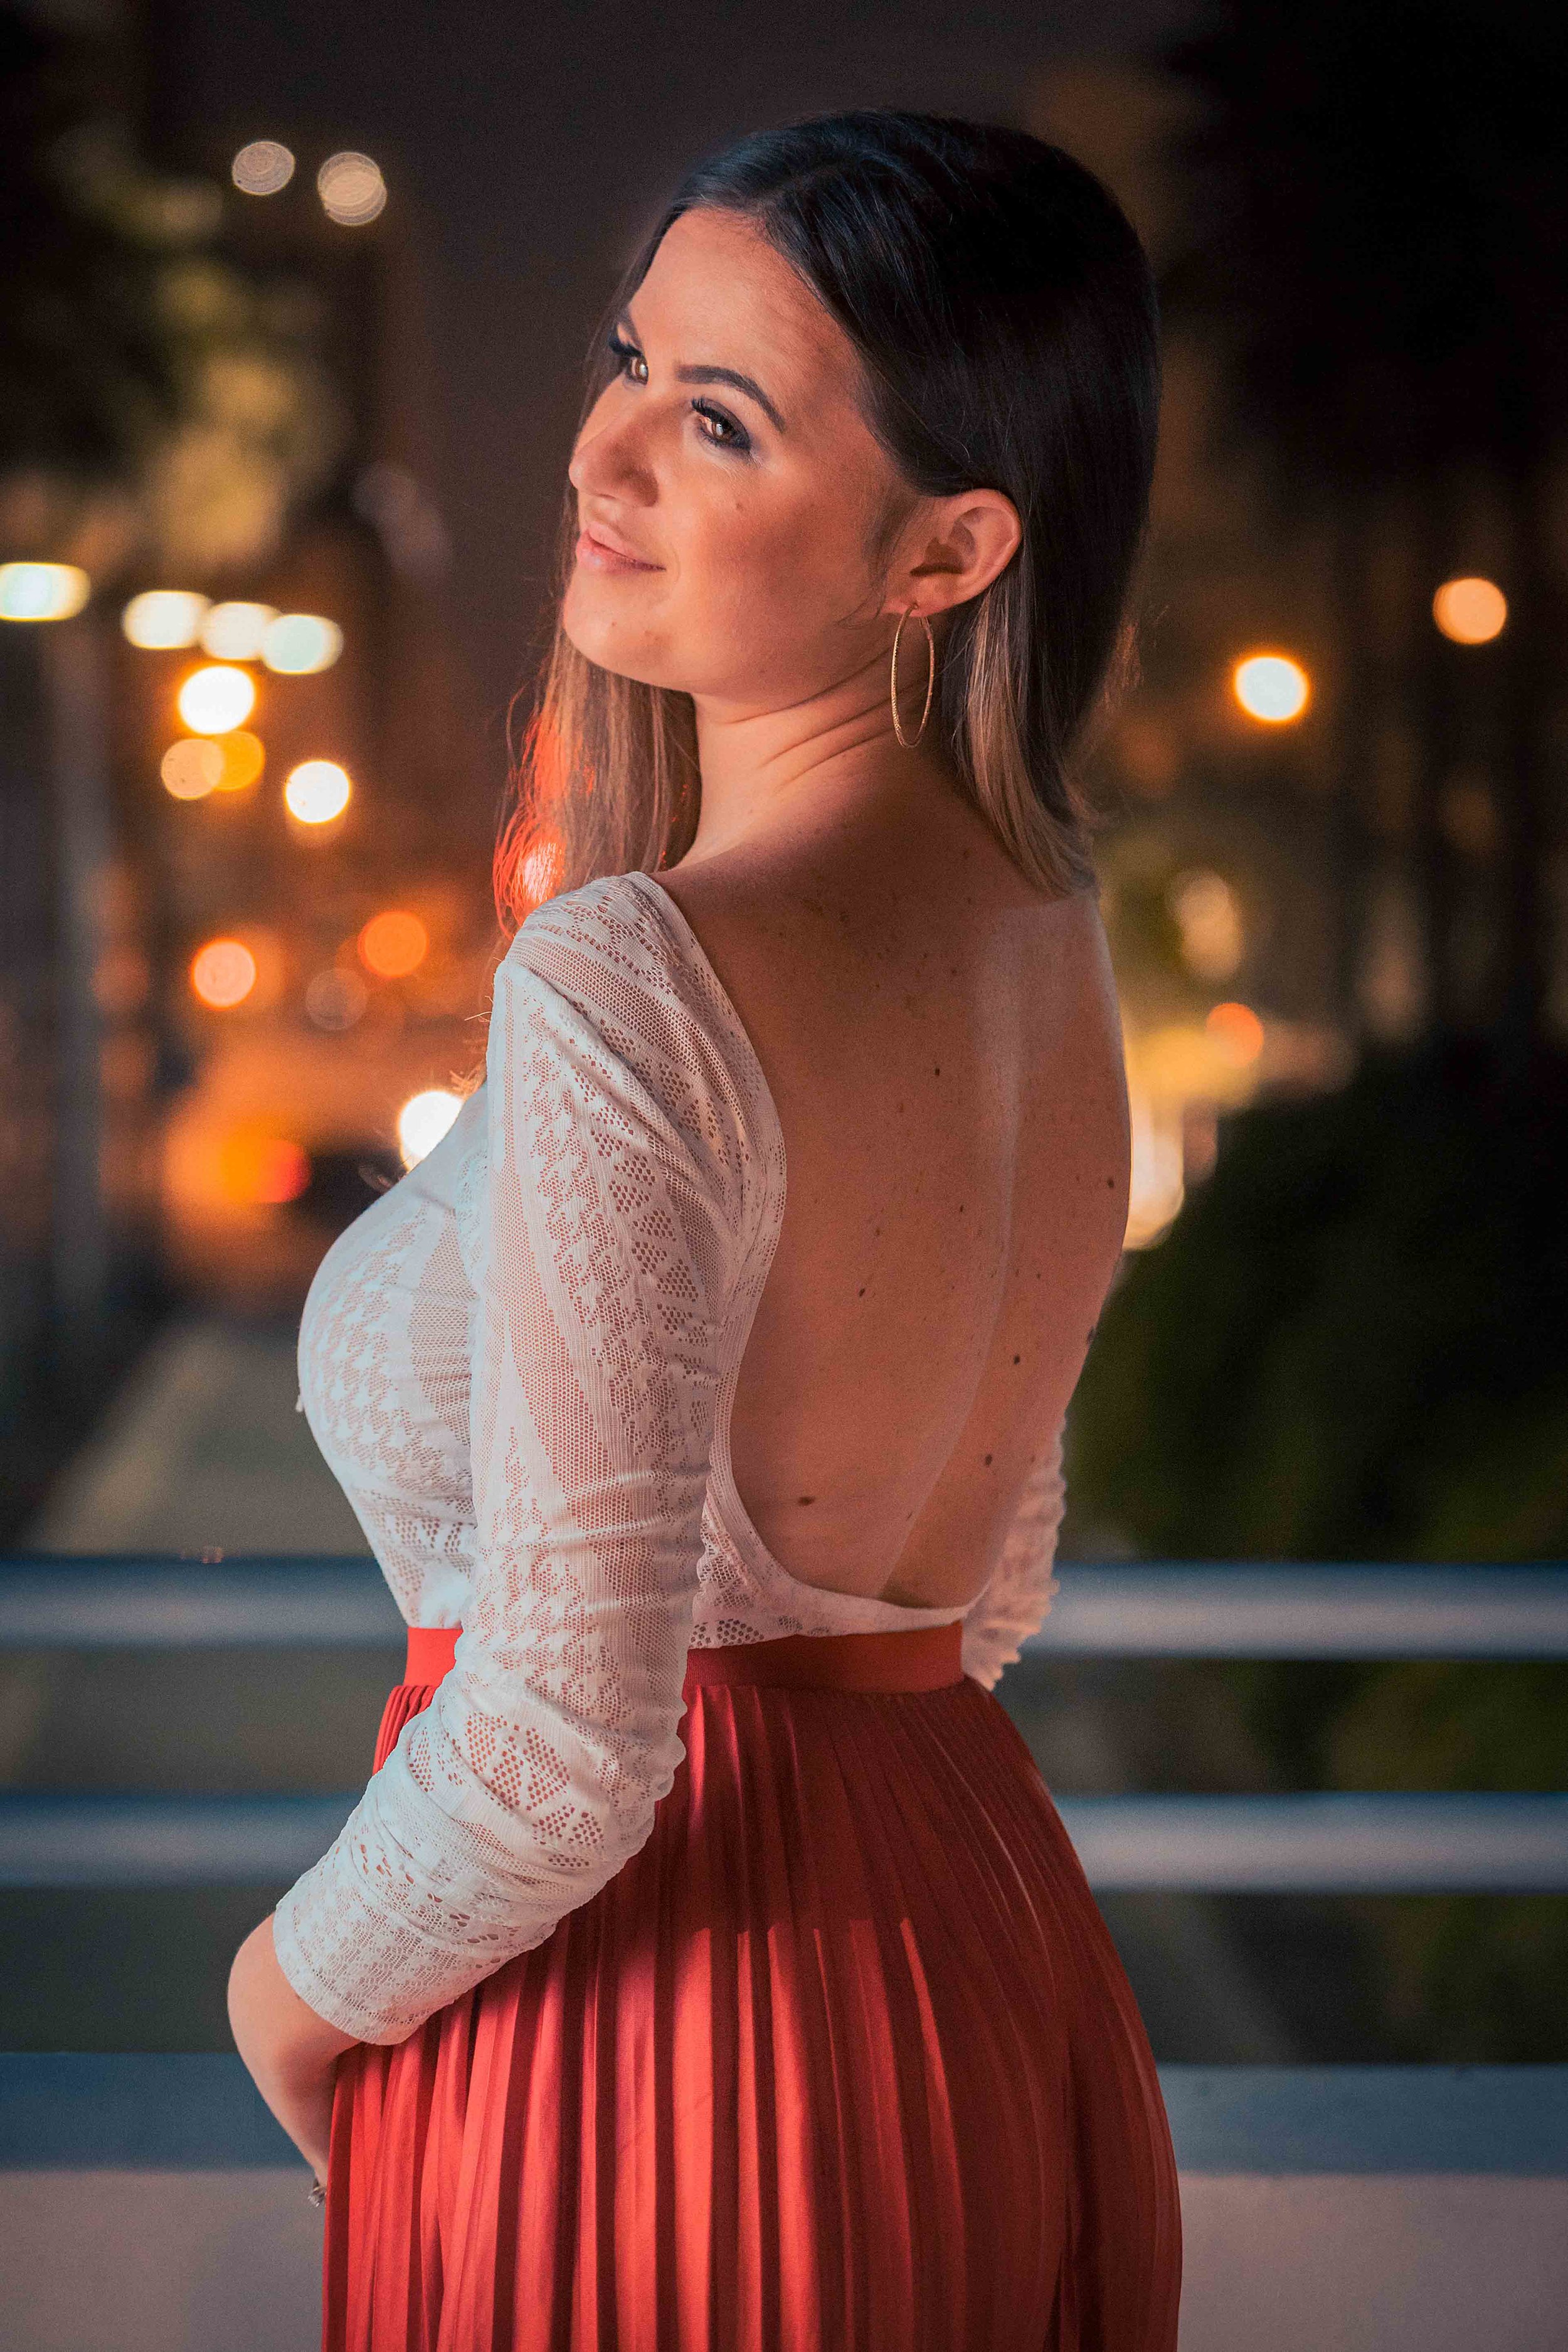
The goal (at least for me) with any flash photography is having it match the ambient exposure. Matching ambient exposure isn't just about matching the brightness, but also about matching the direction and relative size of the light hitting the subject.
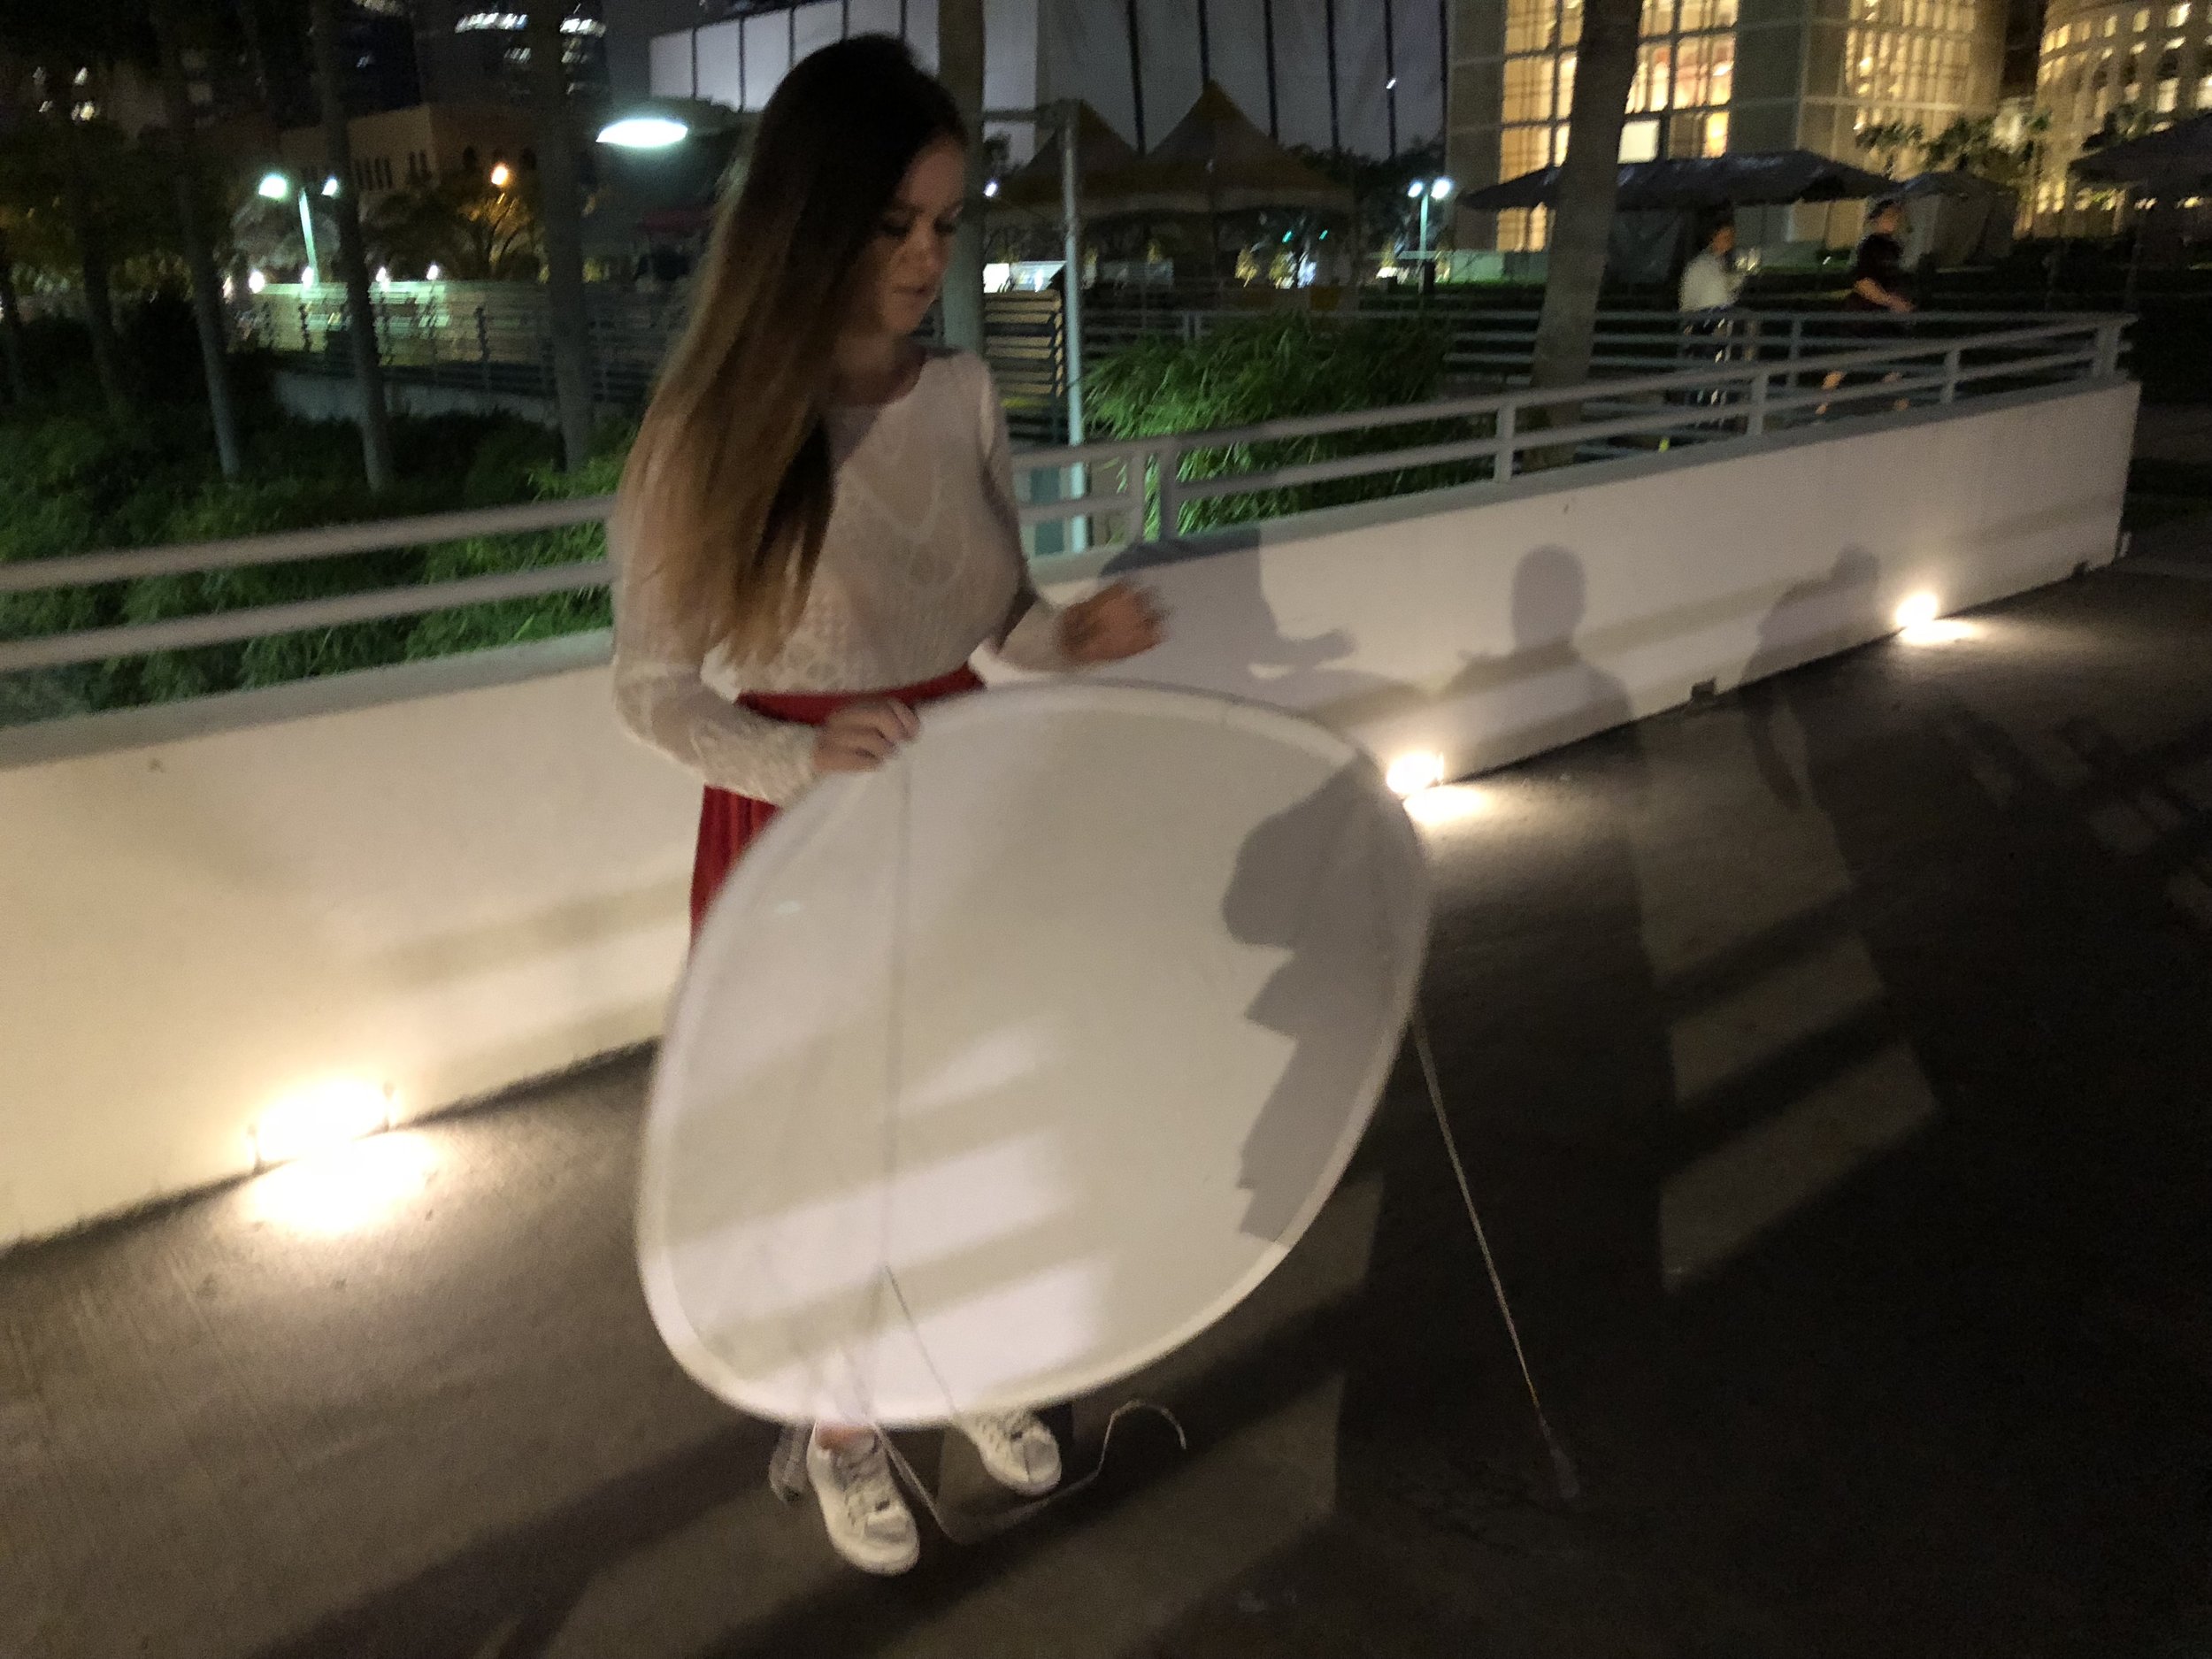
For this shot, it's very subtle, but we already saw a soft light hitting out subject from "camera left" so we added some brightness to that side by pointing a flash through a piece of diffusion material (a scrim from a 5-in-1 reflector.


Step 4: Tighten Up the Shot
The last step requires you to ask yourself two questions: 1. What do I hate about this shot? 2. What do I love about this shot? For the shots above, I started noticing that my focus was missing and that the images weren't giving me a flat line across the railing and that I needed to fix them.


Being critical of your images isn't about being negative, but it's about making sure that the details are correct. In a world where anyone can use and have a DSLR and pretty good lenses, it's important to remember that great photography is a game of inches, and not a game of yards. It's important to note little details like the expression or a little leak of light. Sometimes you can correct those things on set and other times you need to correct them in post-production. Being mindful on-set can save you hours of work afterwards.
A lot of people can take pictures, but not many can make images by problem solving these issues quickly and efficiently. When you choose to hire a professional, it's important to know whether they can handle any situation that comes at them.
If you're looking for a portrait photographer in the Tampa Bay area, please consider calling me to discuss how I can make great images for you.